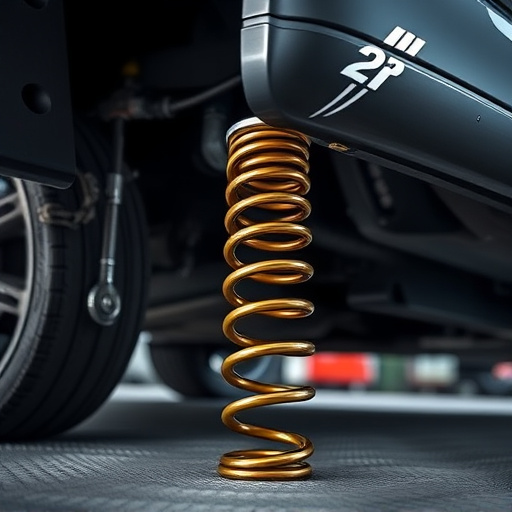


Sway bar bushings are crucial for improved vehicle stability and handling, especially in high-performance scenarios. Proper installation and inspection using tools like jacks, torque wrenches, and feeler gauges ensure optimal safety and performance, particularly with modifications. Regular checks for damage and correct torquing are vital to maintain integrity after installation.
After installing new sway bar bushings, proper testing is crucial to ensure optimal vehicle stability and safety. Sway bar bushings play a vital role in your car’s suspension system, connecting the sway bar to the chassis and allowing for controlled body roll during cornering. This article guides you through the process of testing these components post-installation. We’ll walk you through the necessary tools and step-by-step procedures to check for defects and wear, ensuring your vehicle handles smoothly and securely on the road.
- Understanding Sway Bar Bushing Function
- Tools Required for Testing Installation
- Step-by-Step Process: Checking for Defects and Wear
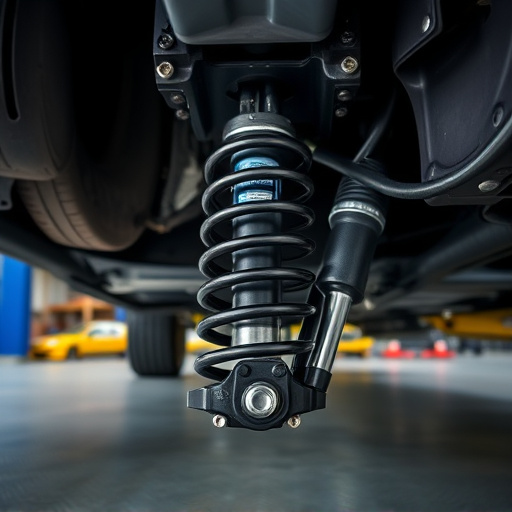
Understanding Sway Bar Bushing Function

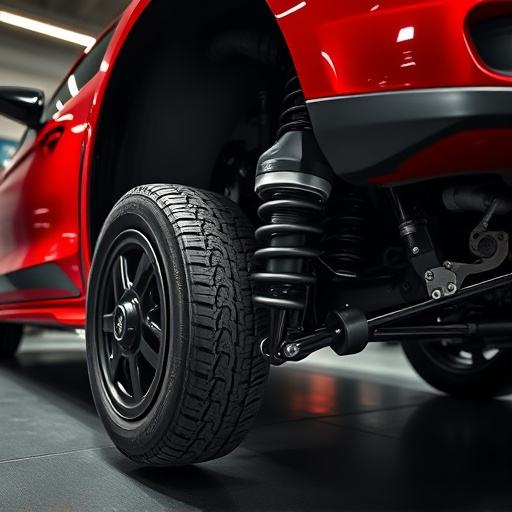
Sway bar bushings play a pivotal role in enhancing vehicle stability and ensuring optimal handling, especially during cornering. These bushings act as connectors between the sway bar (also known as anti-roll bar) and the suspension components, allowing for efficient transfer of forces while minimizing unwanted vibrations and body roll. By managing these forces, sway bar bushings contribute to improved vehicle performance, making corners more responsive and reducing body lean. This is particularly beneficial for those with high-performance brakes and cold air intakes, as it allows for more precise control during aggressive driving maneuvers.
Tools Required for Testing Installation
To thoroughly test sway bar bushings after installation, several essential tools are required. These include a jack and jack stands for safe vehicle support, a torque wrench to ensure correct tightening specifications, and a set of feeler gauges or a digital gauge to measure the bushings’ compression and rebound. Additionally, having a partner or assistant to help with lifting and positioning the vehicle is highly recommended for ease and accuracy during the testing process.
For those utilizing coilover kits or considering upgrades such as new exhaust tips or muffler tips, this testing procedure becomes even more crucial. Proper sway bar bushing functionality ensures optimal handling and stability, especially at high speeds. Therefore, investing in accurate measurement tools pays dividends in maintaining vehicle safety and performance, particularly when modifying components like suspension parts or emission systems.
Step-by-Step Process: Checking for Defects and Wear
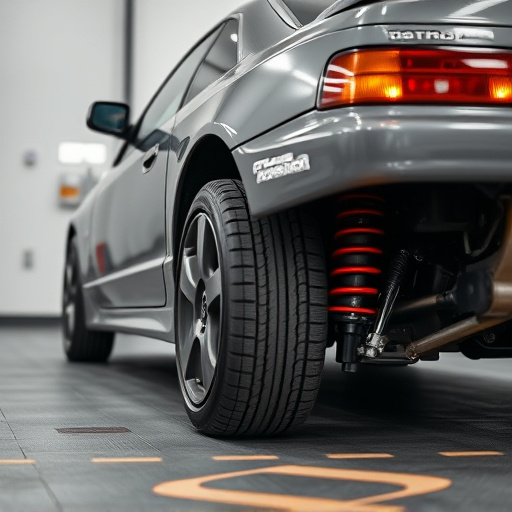
After installing new sway bar bushings, it’s crucial to perform a thorough inspection to ensure they’re free from any defects or signs of wear. Begin by examining the bushings for any visible damage, such as cracks, tears, or deformities. Even minor imperfections can compromise the bushings’ effectiveness in absorbing shock and vibrations. Use a flashlight if necessary to peer into hard-to-reach areas.
Next, grab a suitable tool, like a torque wrench, to check the bushings’ tightness and ensure they’re properly torqued according to your vehicle’s specifications. Inadequate torque can lead to premature wear, while excessive torque might cause damage. This step is particularly important when upgrading your suspension kits or installing performance brakes and exhaust mufflers, as these components often interact closely with sway bar bushings.
After installing new sway bar bushings, it’s crucial to verify their functionality to ensure optimal vehicle stability. Using basic tools, you can easily follow a step-by-step process to check for defects and wear, guaranteeing your safety and the performance of your vehicle’s suspension system. Regular testing of sway bar bushings is a simple yet effective way to maintain your car’s handling and prevent unexpected issues on the road.