


Choosing correct sway bar bushings (SBBs) is crucial for vehicle stability and safety, matching make, model, and year. Proper SBB removal and inspection prevents future issues. Secure, aligned installation using proper tools and torque specs ensures optimal handling and extended suspension lifespan.
Avoiding common mistakes during sway bar bushing replacement is key to ensuring your vehicle’s stability and safety. This guide walks you through the process, helping you navigate the task with confidence. First, identify the correct bushing type for your vehicle. Next, learn the proper techniques for removing old bushings without damaging other components. Finally, ensure tight installation for optimal performance. By following these steps, you’ll replace sway bar bushings like a pro and maintain your vehicle’s handling and control.
Identify Correct Bushing Type
Choosing the right sway bar bushings is crucial for a smooth ride and optimal handling. Before starting your replacement, it’s essential to identify the specific bushing type suitable for your vehicle. Different cars have varying requirements based on their make, model, and year. The bushing type will determine how much movement and flexibility is allowed in the suspension system, directly impacting the vehicle’s stability and response during cornering and braking.
Consulting your vehicle’s owner manual or reaching out to a professional mechanic can help you discern the correct bushings for your needs. Remember, using the wrong bushings may lead to handling issues, accelerated wear on other suspension components like control arms or struts, and could potentially compromise safety, especially in vehicles with performance brakes, advanced intake components, or modifications affecting the overall stability control systems.
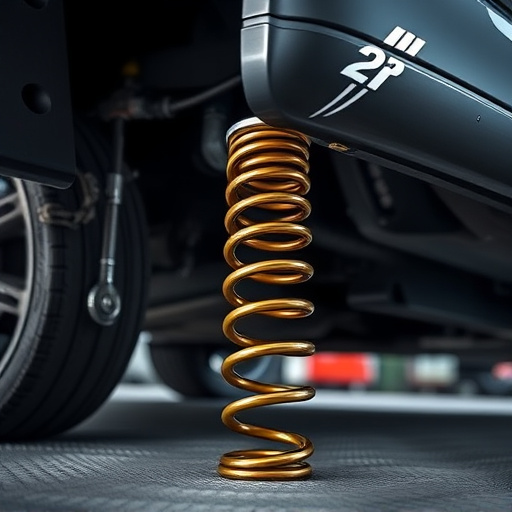
Properly Remove Old Bushings
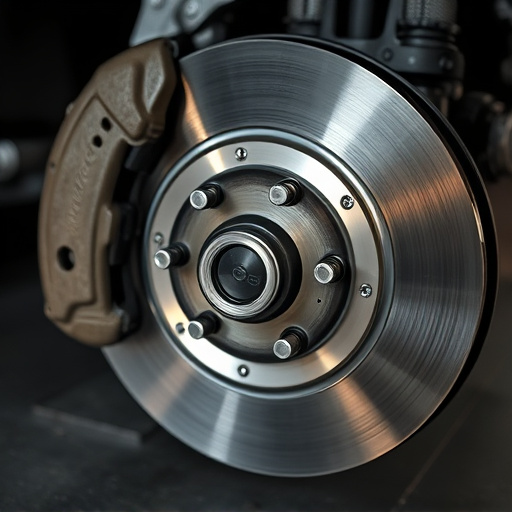
Properly removing old sway bar bushings is a crucial step that often gets overlooked, leading to potential issues down the line. Before installing new ones, ensure that you thoroughly clean and inspect the existing bushing sleeves. The old bushings should be removed gently but firmly using suitable tools designed for this task. A common mistake is forcing the removal, which can damage the surrounding components, especially if the bushings have become seized or overly hardened over time.
Take your time to free them up with lubricants or heat application (if necessary) and always support the vehicle safely to avoid any accidents. This meticulous approach ensures that your new sway bar bushings will be properly aligned and seated, contributing to improved handling dynamics and safety when driving at high speeds or navigating tight corners. Remember, quality performance air filters, brake components, and high-performance parts like sway bar bushings are investments in the longevity of your vehicle’s suspension system.
Secure Tight Installation
When replacing sway bar bushings, one crucial aspect often overlooked is ensuring a secure and tight installation. This step cannot be emphasized enough, as loose parts can lead to compromised vehicle stability and potential safety hazards on the road. Use the correct tools to ensure the new bushings are firmly in place, following the manufacturer’s guidelines for torque specifications.
Proper alignment of the sway bar components is also key. Check that all intake components, from the muffler tips to the control arms, are correctly aligned and secured. This not only ensures optimal vehicle performance but also prevents any unnecessary wear or damage to the newly installed bushings.
When replacing sway bar bushings, always start with identifying the correct bushing type for your vehicle, ensure proper removal of old parts, and finish with a tight, secure installation. These steps are essential to maintaining optimal vehicle stability and handling, so don’t skip them. Remember, using the right bushings and installing them correctly can prevent common mistakes that may lead to steering issues down the road.