


Sway bar bushings are crucial for vehicle handling and stability, connecting sway bars to chassis and arms during cornering and straight-line driving. Upgrading with high-quality bushings, especially with performance modifications like coilovers or exhaust systems, can enhance dynamics. Safe DIY replacement involves proper tools, safety measures, and a crisscross tightening pattern using a torque wrench for improved driving experience.
Looking to enhance your vehicle’s handling? This step-by-step guide will walk you through installing new sway bar bushings, a simple yet effective upgrade. Sway bar bushings act as cushions between your car’s suspension and steering system, improving stability and reducing body roll during cornering. Understanding these basic components is key before gathering your tools. With the right materials and safety precautions, you can safely replace sway bar bushings and enjoy better control on the road.
- Understanding Sway Bar Bushings: Basic Components
- Gathering Tools and Materials for Installation
- Step-by-Step Guide to Replacing Sway Bar Bushings Safely
Understanding Sway Bar Bushings: Basic Components
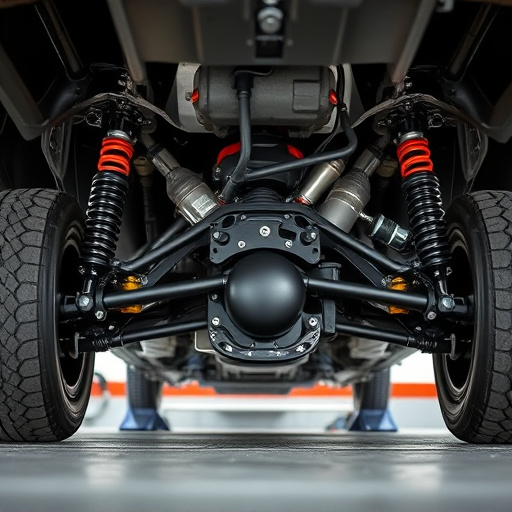
Sway bar bushings are a fundamental component in a vehicle’s suspension system, playing a crucial role in improving handling and stability. These bushing components connect the sway bar (also known as anti-roll bar) to the vehicle’s chassis or arms. They allow for some flexibility, managing the transfer of forces between these parts during cornering and straight-line driving. Understanding the function of sway bar bushings is essential when carrying out maintenance or upgrades to your car’s suspension.
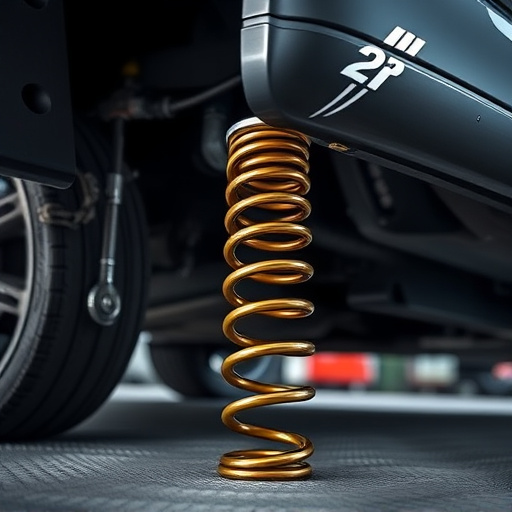
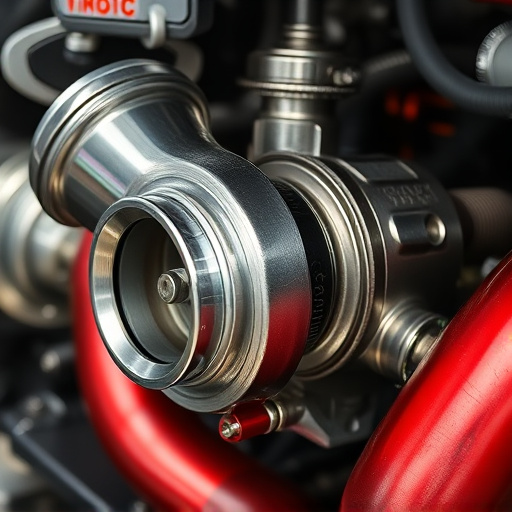
The basic setup involves a series of components: the sway bar itself, bushings that provide the necessary articulation, and mounting hardware. Modern vehicles often come with adjustable sway bars, allowing for fine-tuning of handling characteristics. When installing new sway bar bushings, it’s advisable to consider other performance upgrades like coilover kits or high-flow exhaust systems for a holistic improvement in vehicle dynamics, especially if you’re into modifying your car for better handling and enhanced driving experience. Additionally, ensuring proper air filtration with performance air filters can complement these upgrades by optimising engine intake and overall vehicle performance.
Gathering Tools and Materials for Installation
Before beginning your sway bar bushing installation, it’s essential to gather all necessary tools and materials. This includes new sway bar bushings, socket wrenches or ratchet sets with various sizes of sockets to match your vehicle’s bolts, a jack and jack stands for safe lifting, and possibly a helper for stability. Consider also having on hand basic automotive lubricants like grease or motor oil (especially if you anticipate needing to disassemble any other components during the process), along with some rags or shop cloths to protect surfaces and catch any excess fluids.
For added vehicle performance enthusiasts might also consider upgrading to high-quality sway bar bushings designed for better durability and reduced noise, which can complement other modifications like cold air intakes or exhaust tips. Ensure your workspace is well-lit and organized to facilitate a smooth installation process, and always follow manufacturer instructions regarding safety precautions when working on any vehicle components.
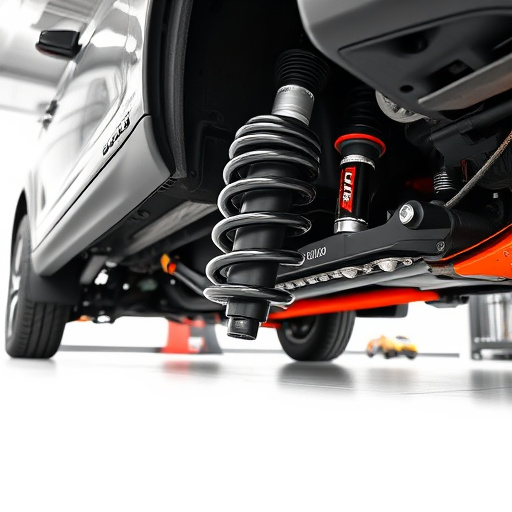
Step-by-Step Guide to Replacing Sway Bar Bushings Safely
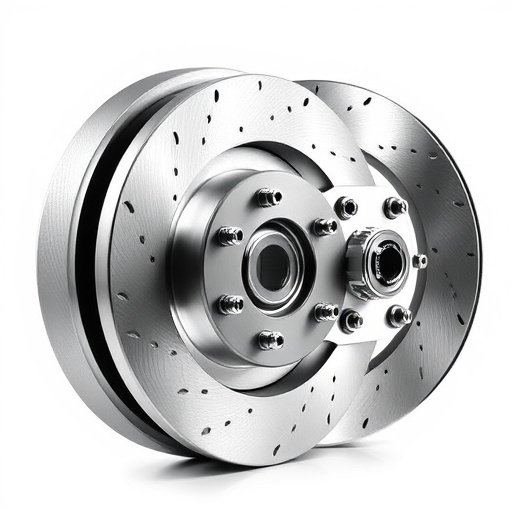
Replacing sway bar bushings is a crucial task for any car enthusiast aiming to enhance their vehicle’s handling and stability. Here’s a step-by-step guide to ensure the process is safe and effective. First, gather all necessary tools and parts, including new sway bar bushings compatible with your vehicle model. Park your car on a level surface and engage the parking brake for safety. Next, locate the sway bars—they’re usually near the wheels—and identify the bushings that need replacement using a repair manual or online resources. Loosen the bolts securing the old bushings using a socket wrench, taking note of their positions and order. Remove the damaged bushings carefully, ensuring no debris remains on the sway bar ends. Install the new bushings, aligning them correctly, then tighten the bolts in a crisscross pattern with a torque wrench to avoid uneven pressure. Double-check all connections for securement before lowering your vehicle. With these steps completed, you’re well on your way to enjoying improved driving dynamics, thanks to fresh sway bar bushings—a simple yet effective modification often overlooked but valuable for both daily drivers and track toys alike. Plus, if you’re considering upgrading other components like coilover kits or performance brakes, this maintenance step can complement those upgrades, ensuring optimal handling across the board.
Installing new sway bar bushings is a straightforward process that can significantly improve your vehicle’s handling and safety. By understanding the basic components and following a step-by-step guide, you can easily replace worn-out bushings yourself. Remember to gather all necessary tools and materials before beginning, ensuring a smooth and successful installation. With these simple steps, you’ll have your car back in top shape, enhancing its performance and stability on the road.